By default, RustFS uses a port 9001 for the Web Console and a port 9000 for API access. To ensure security and compliance, users always deploy RustFS with HTTPS enabled, even with a reverse proxy (such as Nginx, Traefik, or Caddy). The blog will share an even more secure way, which uses Cloudflare tunnel to access your RustFS instance without exposing ports directly to the public internet, and make RustFS more secure eventually.
RustFS installation
RustFS has several installation methods, such as binary, Docker, and Helm Chart. For detailed instructions, please refer to the installation instructions. This blog will show how to install RustFS via docker with docker-compose.yml.
Creating a docker-compose.yml file with the following content,
services:
  rustfs:
    image: rustfs/rustfs:latest
    container_name: rustfs
    hostname: rustfs
    environment:
      - RUSTFS_VOLUMES=/data/rustfs{1...4}
      - RUSTFS_ADDRESS=0.0.0.0:9000
      - RUSTFS_CONSOLE_ENABLE=true
      - RUSTFS_CONSOLE_ADDRESS=0.0.0.0:9001
      - RUSTFS_ACCESS_KEY=rustfsadmin
      - RUSTFS_SECRET_KEY=rustfsadmin
      - RUSTFS_TLS_PATH=/opt/tls
    ports:
      - "9000:9000"  # API endpoint
      - "9001:9001"  # Console
    volumes:
      - data1:/data/rustfs1
      - data2:/data/rustfs2
      - data3:/data/rustfs3
      - data4:/data/rustfs4
      - ./certs:/opt/tls

    networks:
      - rustfs

networks:
  rustfs:
    driver: bridge
    name: rustfs

volumes:
  data1:
  data2:
  data3:
  data4:
Running the command to deploy the RustFS instance:
docker compose up -dVerifying the installation:
docker compose ps
NAME      IMAGE                         COMMAND                 SERVICE   CREATED          STATUS          PORTS
rustfs    rustfs/rustfs:1.0.0-alpha.81  "/entrypoint.sh rust…"  rustfs    22 minutes ago   Up 22 minutes   0.0.0.0:9000-9001->9000-9001/tcp, [::]:9000-9001->9000-9001/tcp
Cloudflare Tunnel Setup
Configuring a Cloudflare Tunnel consists of two main parts: Domain Configuration and Tunnel Configuration.
1. Domain Configuration (optional but recommended)
Proper domain configuration ensures seamless access to RustFS later. So you should have a domain.
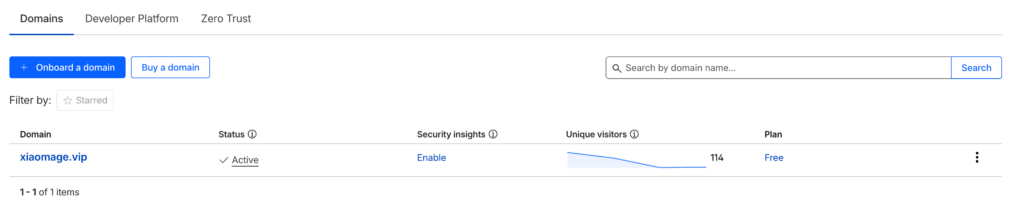
- Log in to your Cloudflare account and navigate to the Domain section.
- In the left sidebar, go to Account Home. If you already own a domain, select Onboard a domain; otherwise, choose Buy a domain.
- If onboarding, enter your domain name and follow the guides until you select Continue to activation.
- Finally, the domain Status will appear as Active on your dashboard.
2. Tunnel Configuration
- Log in to the Cloudflare Zero Trust Dashboard.
- Navigate to Networks -> Tunnels and click Create a tunnel.
- Select cloudflared as the connector type.
- In the Install and run connectors section, choose the operating system matching your RustFS server and follow the installation instructions.
- Once installed, you can verify the service status on RustFS server.
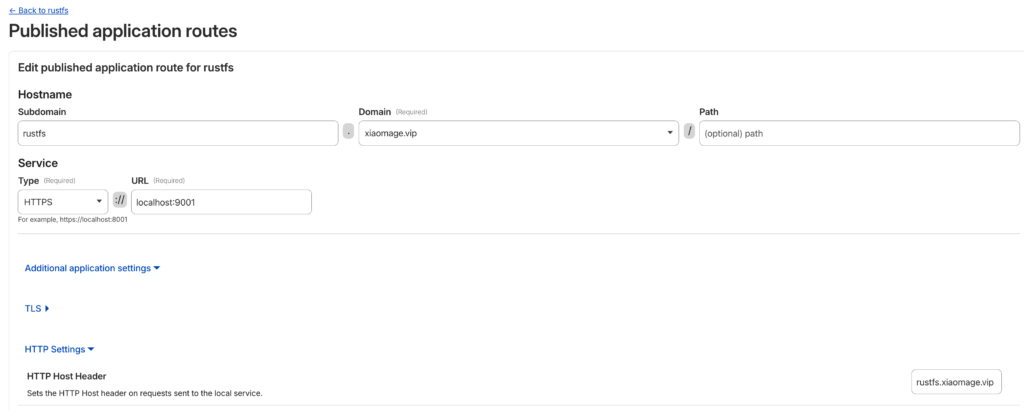
- In the Route Traffic section, configure the Hostname and Service:
- Hostname: Select the domain you added earlier. You can also specify a Subdomain (e.g.,
rustfs). - Service: Select the type and URL. For this setup, choose HTTP (or HTTPS if enabled internally) and set the URL to localhost:9001.
- Hostname: Select the domain you added earlier. You can also specify a Subdomain (e.g.,
- Click Complete setup.
The tunnel Status should now show as a green HEALTHY badge.
Note : In the Hostname settings, go to Additional application settings -> HTTP Settings. In the HTTP Host Header field, enter the domain name you are using to access RustFS. This prevents SignatureDoesNotMatch errors during S3 API calls.
Login Verification
Congratulations! You can now access your RustFS instance via your configured domain. In the above configuration, RustFS instance URL will be https://rustfs.xiaomage.vip.
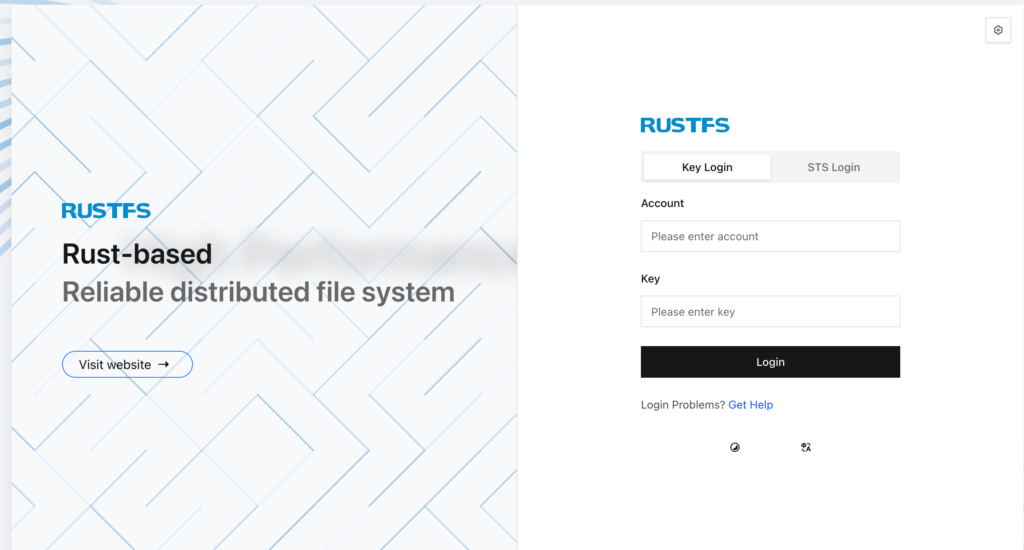
Log in the RustFS instance with default credentials rustfsadmin / rustfsadmin.
You can now interact with RustFS using various tools like, mc, rc or rclone.
Using RustFS with mc
mc is the client for MinIO, since RustFS is S3-compatible and serves as a MinIO alternative, so it mc will work perfectly with RustFS.
Prerequisites
Installing mc with the MinIO documentation and checking the version to make sure installation works fine.
mc --version
# mc version RELEASE.2025-08-29T21-30-41Z...
Usage
# Set alias
mc alias set rustfs https://rustfs.xiaomage.vip rustfsadmin rustfsadmin

# Create a bucket
mc mb rustfs/hello

# List buckets
mc ls rustfs
[2026-01-23 21:39:36 CST]     0B hello/
[2026-01-23 20:12:59 CST]     0B test/

# Upload a file
echo "123456" > 1.txt
mc cp 1.txt rustfs/hello
# 1.txt: 100.0% 7 B 1 B/s

# Verify upload
mc ls rustfs/hello
[2026-01-23 21:40:44 CST]     7B STANDARD 1.txt
Using RustFS with rclone
rclone is a powerful command-line tool for syncing files across different cloud storage providers, which can also operate RustFS.
Prerequisites
Installing the rclone CLI according to the official guide and checking the version rclone to make sure installation works fine.
rclone --version
# rclone v1.72.1 ...
Usage
- Configure Rclone
Run rclone config and follow the guidance. Finally, the ~/.config/rclone/rclone.conf configuration will be generated and should be like this:
[rustfs]
type = s3
provider = Minio
access_key_id = rustfsadmin
secret_access_key = rustfsadmin
endpoint = https://rustfs.xiaomage.vip
region = us-east-1
force_path_style = trueNote: Since RustFS is not included in rclone’s provider list, use Minio as the provider. In the future, we will open a PR to add RustFS to the provider list.
- Basic Commands
# List buckets and objects
rclone ls rustfs: --s3-sign-accept-encoding=false
        7 hello/1.txt
    11792 test/1.log
   520512 test/123.mp3

# View object content
rclone cat rustfs:hello/1.txt --s3-sign-accept-encoding=false
123456NOTE: The --s3-sign-accept-encoding=false flag is required because Cloudflare modifies the Accept-Encoding header. In the S3 protocol, this change triggers a SignatureDoesNotMatch error. See RustFS Issue #1492 for details.
Using RustFS with rc
Prerequisites
rc is the native RustFS CLI. The current version is 0.1.1 and can be installed via Cargo or compiled from source. After installation, check the version to make sure the installation works fine.
rc --version
# rc 0.1.1
Usage
rc supports standard commands like alias, ls, mb, and rb, similar to mc.
# Set alias
rc alias set rustfs https://rustfs.xiaomage.vip rustfsadmin rustfsadmin
✓ Alias 'rustfs' configured successfully.

# List buckets
rc ls rustfs
[2026-01-23 13:39:36]          0B hello/
[2026-01-23 13:56:57]          0B rclone/
[2026-01-23 12:12:59]          0B test/

# Create a bucket
rc mb rustfs/client
✓ Bucket 'rustfs/client' created successfully.
For more features, run rc --help. If you encounter issues, please provide feedback on GitHub Issues.